Oleria provides adaptive and autonomous access security that sets your business free. As part of that promise, we provide deep integration of your ServiceNow application into the Oleria platform. This document provides step-by-step guidance for integrating your ServiceNow application instance with your Oleria workspace.
Prerequisites
- Admin user role
- Oleria ServiceNow application Update Set
Steps to Integrate ServiceNow with Oleria workspace
- Elevate role to Admin
- Upload Oleria Update Set to your ServiceNow instance
- Integrate ServiceNow with Oleria Workspace
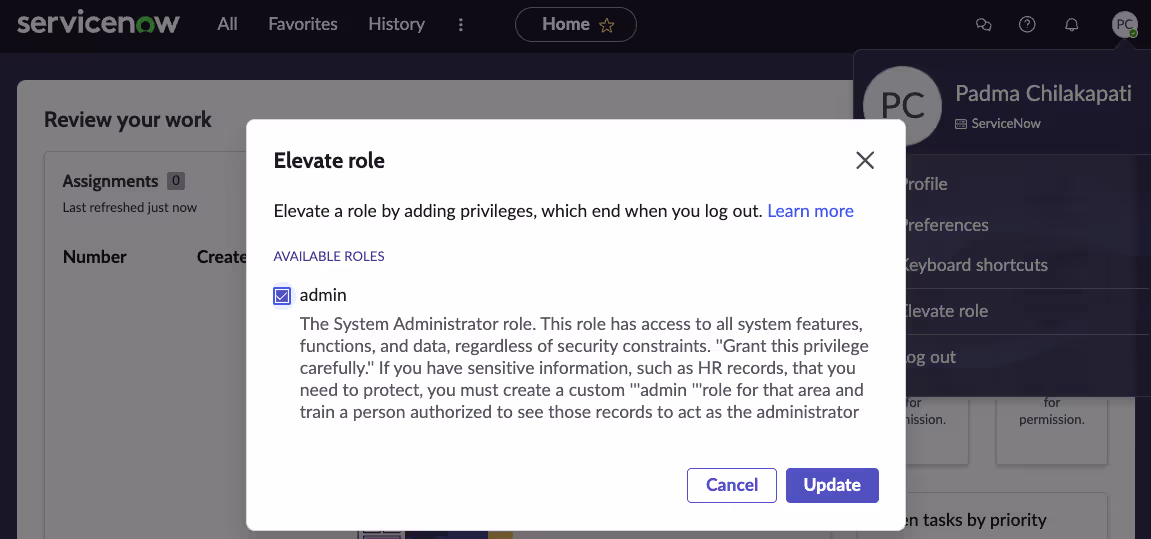
Step 1: Elevate role to Admin
Step 2. Upload the Oleria update set to your ServiceNow instance
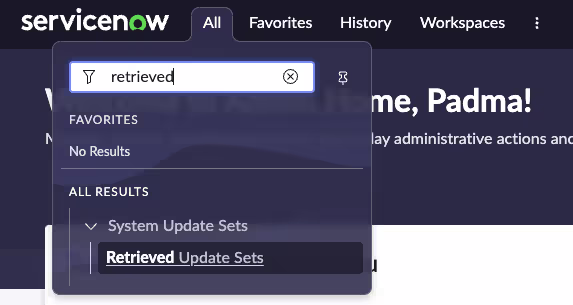
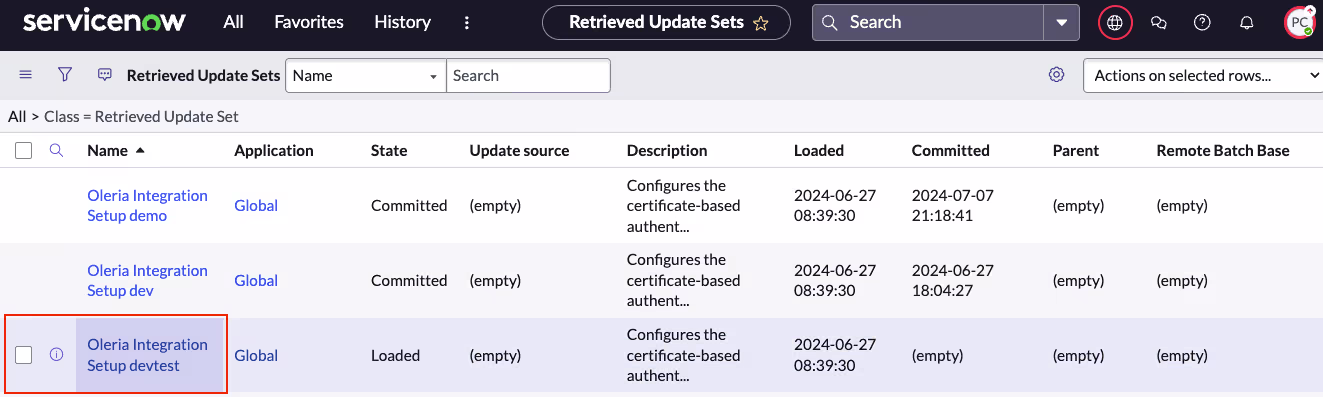
2.1. Navigate to All → search and select Retrieved Update Sets
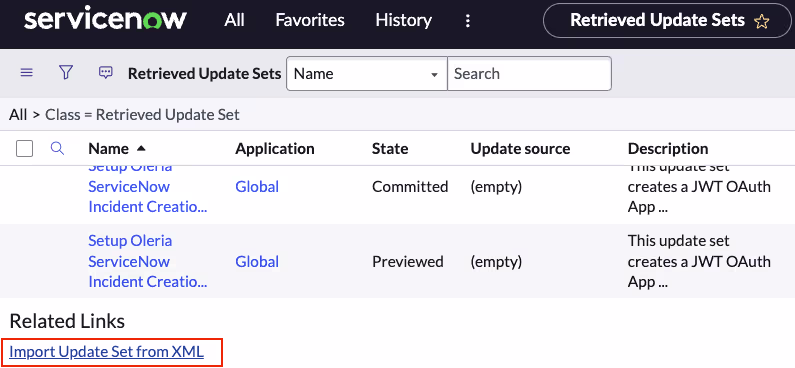
2.2. Select Import Update Set from XML
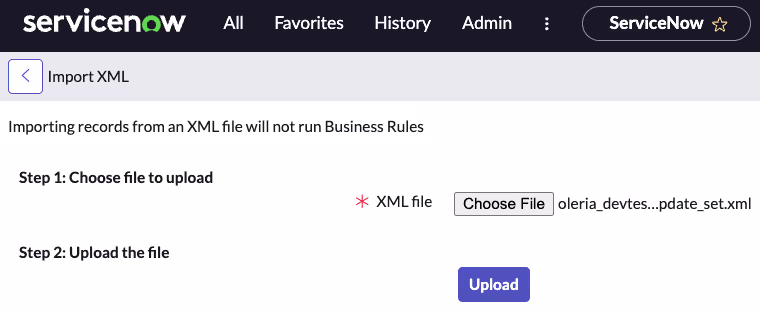
2.3. Upload Oleria Update set by selecting Choose file and Upload
2.4. A successful file upload will take you to the Retrieved Update Sets page. From there, select the uploaded Oleria update set file.
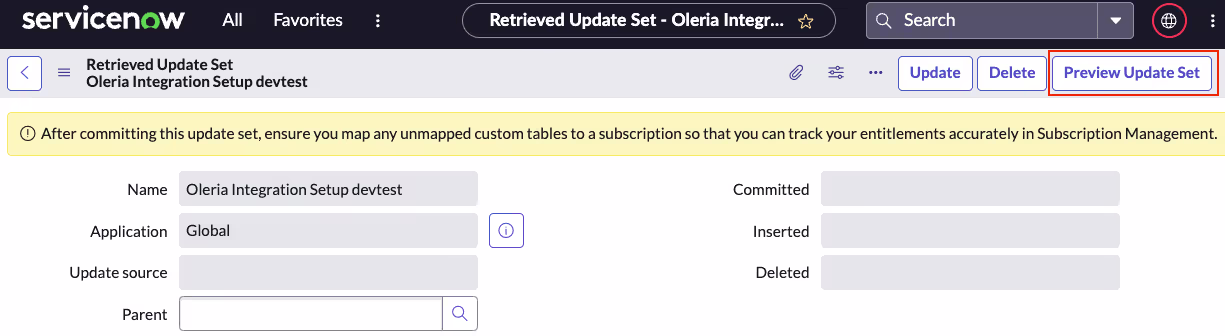
2.5. Select Preview Update Set
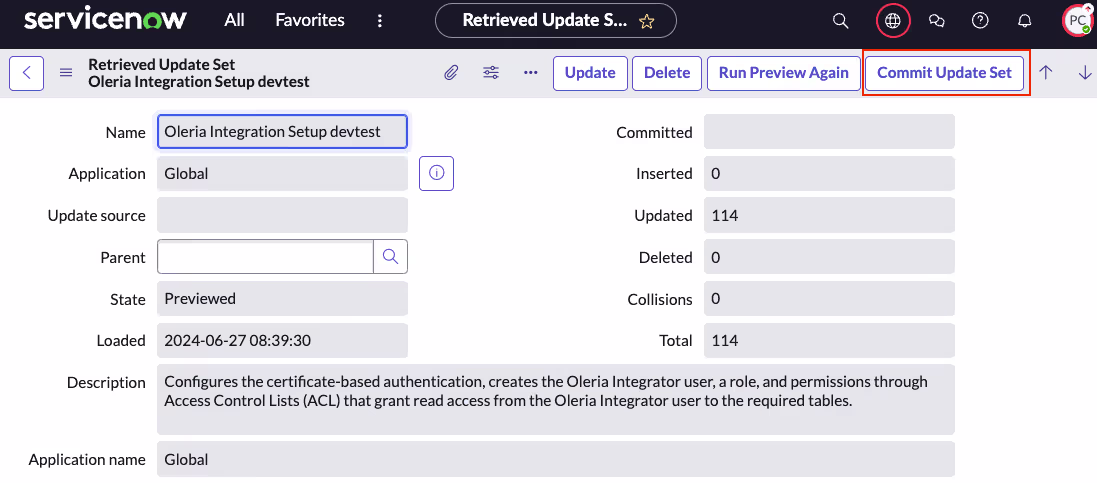
2.6. The update set preview should run successfully, as shown in the screenshot. Close the Update Set Preview window.

2.7. Select Commit Update Set and ensure it runs successfully
2.8. You should find 55 customer updates.
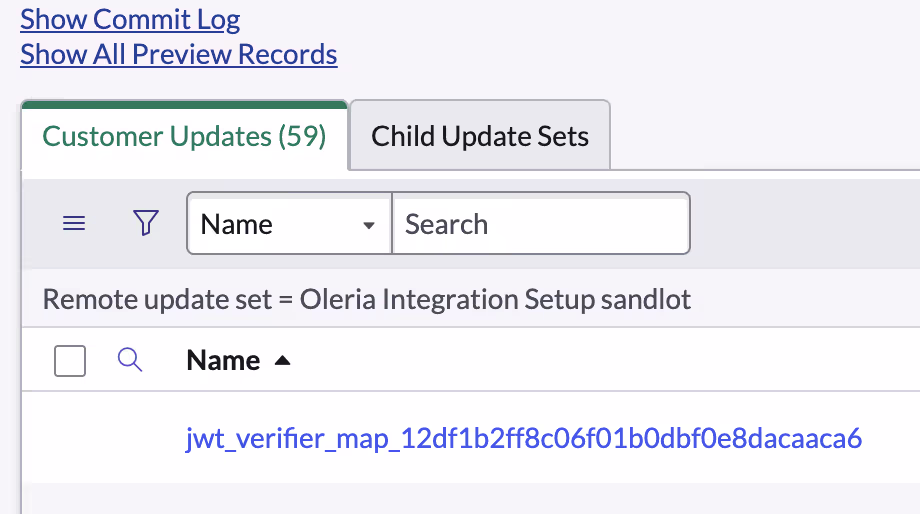
Note: Reach out to the Oleria team if you don’t see 55 customer updates
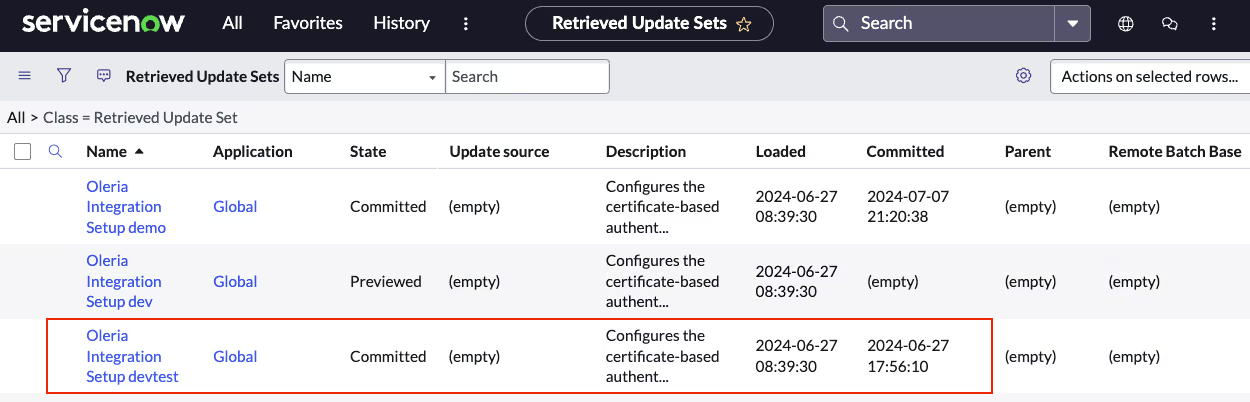
2.9. A successful update set commit shows a timestamp in the committed column
Step 3. Integrate ServiceNow with your Oleria Workspace
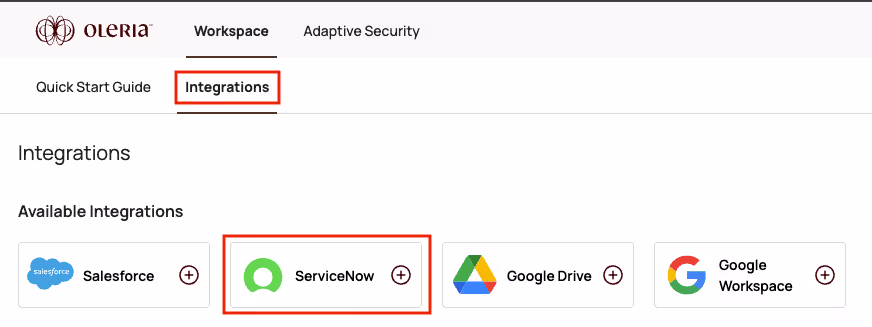
3.1 Integrate ServiceNow to your Oleria Workspace
Go to your Oleria workspace, select Integrations → select ServiceNow
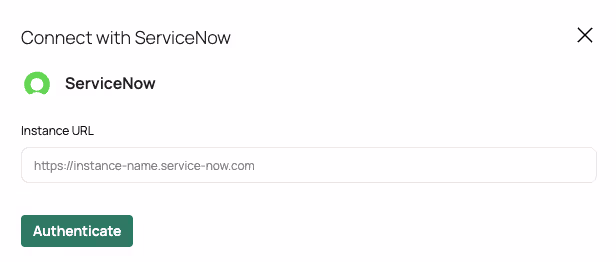
3.2 Provide your ServiceNow instance URL and click Authenticate.
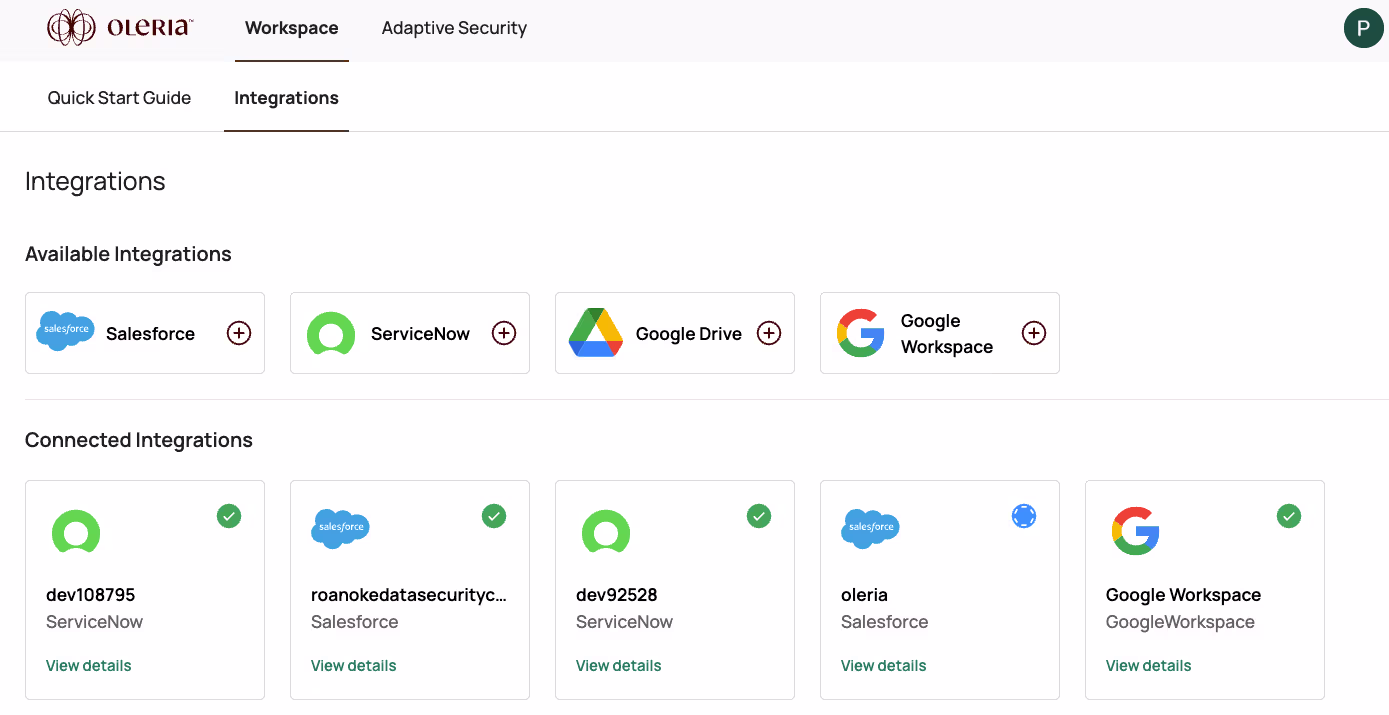
3.3 A newly integrated ServiceNow instance will be available in your Oleria workspace-connected integrations
Contact us
For questions about this integration, please contact us at support@oleria.com.